
How Much Gym Flooring Do You Need? Commercial Order Planning
Calculate commercial gym flooring from a scaled, zone-by-zone layout rather than dividing one total room area by nominal product coverage. Measure every finished boundary, assign a confirmed product and thickness to each zone, count complete tiles or roll lanes, map every cut, and round each color and batch to the supplier's sales unit. Add a documented repair reserve only after the layout is complete. Then convert the ordered area into packages, mass, unloading needs and installation materials before requesting the final quotation.
Start with a flooring scope, not the building area
Mark exactly what will receive the finished flooring. Include recesses, doorways, columns, ramps, equipment plinths, storage bays and transitions. Do not subtract a machine footprint when flooring must continue beneath it, and do not include plant rooms or built-in bases that remain uncovered. Split an L-shaped room into measured rectangles, but keep the shared sketch so that a dimension is not counted twice.
Give every measurement a date, unit and responsible person. Site drawings are useful for preparation, yet the order should use a verified field survey after walls, thresholds and fixed services are established. Record the longest and shortest dimensions where walls are not square. A supplier can only optimize rolls or tiles when the drawing shows the real perimeter rather than one rounded total.
Build a zone schedule before calculating quantity
Divide the floor by actual use: cardio, selectorized strength, free weights, lifting positions, functional training, circulation and storage. The product and thickness for one zone do not automatically suit another. Keep a separate line for every product, thickness, color and fixing method. This prevents the area of a heavy-impact tile from being mixed with a thinner roll in the quotation.
For each zone, record measured area, perimeter, substrate, adjacent finish, equipment movement, cleaning method and opening sequence. Confirm the flooring choice against the activity and building requirements before ordering. The earlier thickness guide helps with that specification decision; this calculation guide begins only after each zone has an approved construction.
Calculate net area, then keep the dimensions
For a rectangle, net area equals length multiplied by width. For irregular rooms, add the areas of simple shapes and subtract only confirmed uncovered voids. Use one unit throughout the workbook; convert centimetres to metres before calculating square metres. Keep full precision in the working sheet and round only the final sales unit, since early rounding across many rooms can hide a material shortfall.
Net area is a control total, not the order quantity. Two rooms with equal area can require different material when one matches the tile module and the other has diagonal walls, narrow returns or many columns. Attach dimensions and a marked plan to every area number so the estimator, installer and buyer can reproduce the result.
Lay out roll lanes before counting rolls
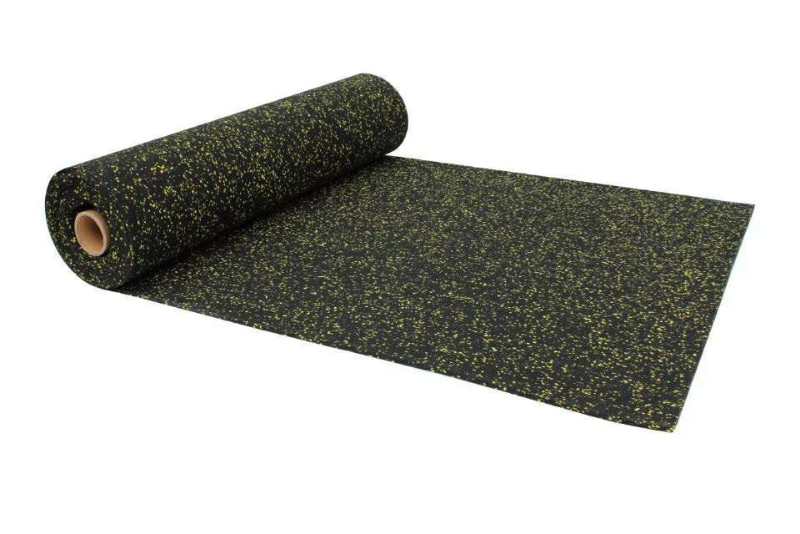
Choose a proposed roll direction with the installer. For each lane, use the finished lane length plus the product-specific trimming allowance, then check whether the supplier sells custom lengths or complete rolls. Count lanes from the usable roll width, not from nominal square-metre coverage alone. Door returns and short side rooms can sometimes use documented offcuts, but this reuse must appear on the cutting plan.
Compare both orientations when the room shape allows it. One direction can reduce lane count while creating unusable end cuts; the other can add a seam but fit the supplied roll length more efficiently. Keep color, manufacturing sequence and installation direction in the schedule. A manufacturer installation guide is product-specific, so use its storage, relaxation, seam and adhesive instructions only for the quoted flooring.
Count tile rows, cuts and edge pieces
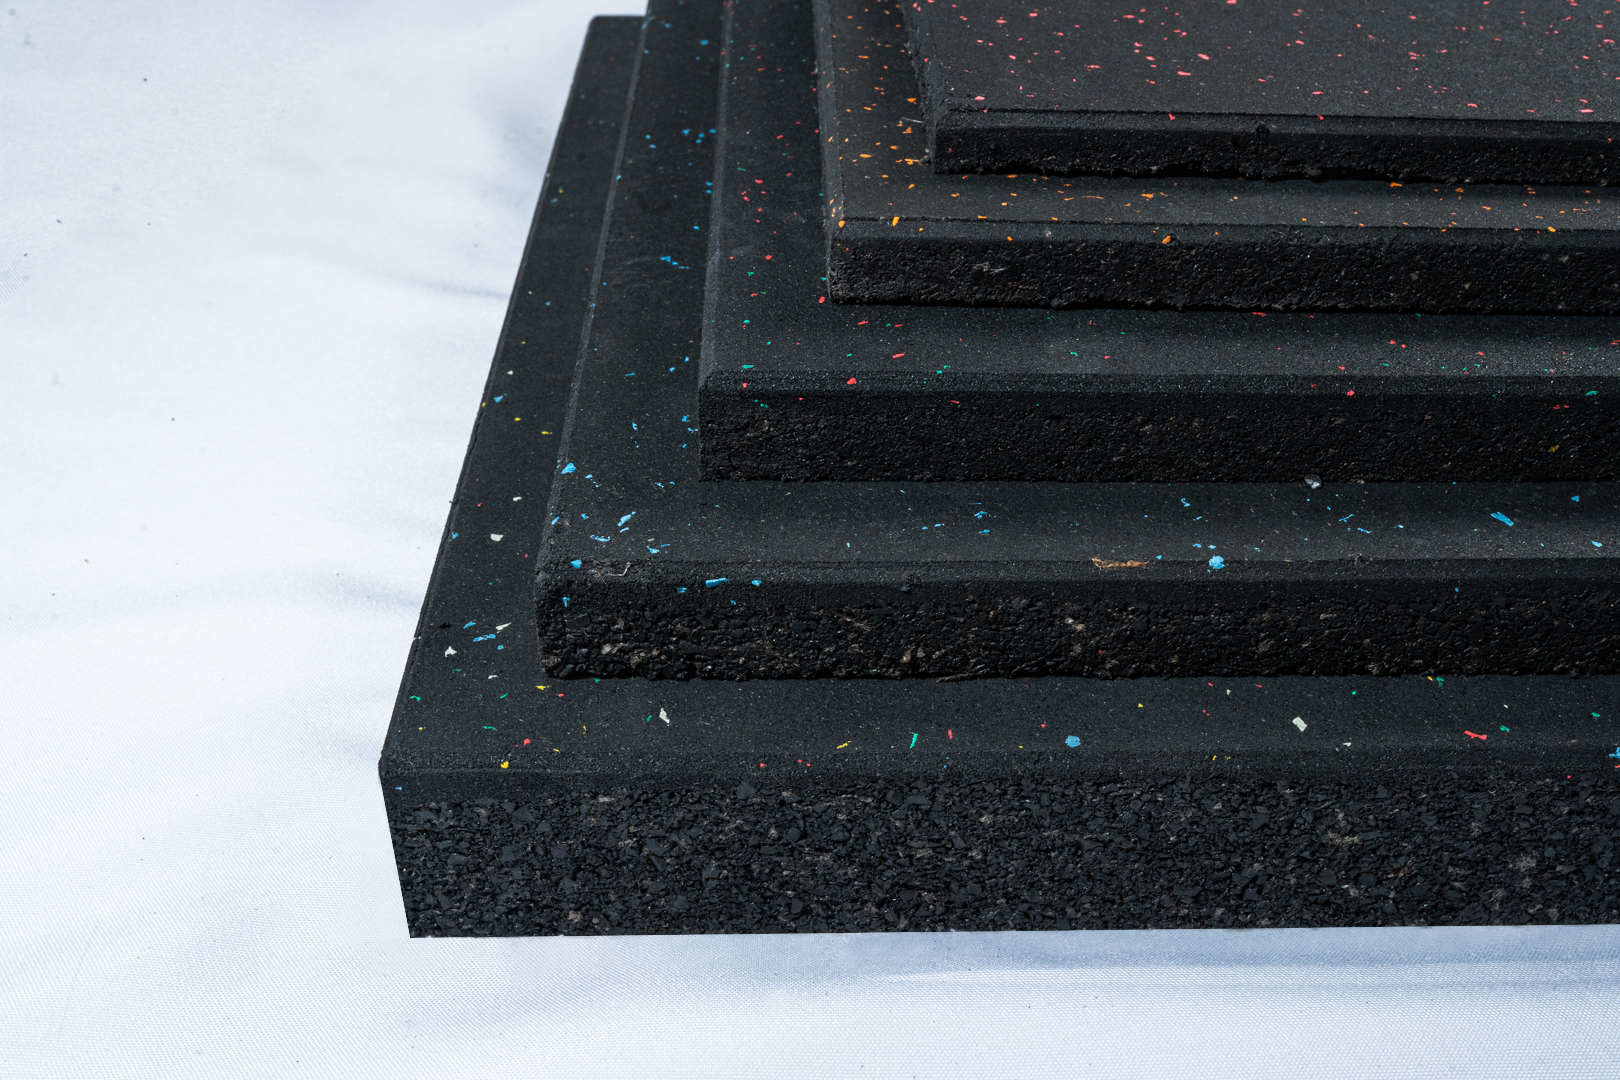
Convert the tile dimensions to metres and calculate the area of one tile, but do not stop at net area divided by tile area. Draw the grid from the agreed starting lines, count full pieces, and map boundary cuts around walls, columns and thresholds. A cut piece can be reused only when its remaining dimensions, edge type and orientation match another documented position.
Interlocking systems can have center, border and corner pieces that are not interchangeable. Straight-edged tiles can also need a balanced perimeter rather than a narrow strip on one side. Count each stock-keeping unit separately and round upward to its package quantity. Retain the grid revision with the purchase order so later changes are visible.
| Control point | Tile calculation | Roll calculation | Purchase record |
|---|---|---|---|
| Base quantity | Rows × columns by zone | Lane count × cut length | Measured plan revision |
| Boundary work | Count cut and edge pieces | List end cuts and returns | Cut schedule |
| Sales rounding | Round each piece type to a package | Round to supplied length or full roll | Supplier sales unit |
| Repair stock | Named full tiles by color and batch | Named full-width length or repair pieces | Storage owner and label |
| Logistics | Packages and pallet mass | Roll count, unit mass and handling | Net and gross shipment data |
Use a cut schedule instead of a universal waste factor
A flat allowance copied from another project cannot see the geometry of this one. First total full units, planned cut units and any verified reusable offcuts. Then add pieces for installer risk and future repair as separate lines approved by the buyer. A simple percentage can be used afterward to challenge an unusual result, but it should not replace the layout evidence.
Keep the future-repair reserve in the same identified color and production batch when appearance continuity matters. Decide who stores it, how it is labeled and whether the pieces are full tiles, full-width roll lengths or practical patches. Excess material without an owner or storage condition is not a maintenance plan; too little reserve can force a visibly different replacement order.
Convert area into packages, mass and handling work
Ask the supplier for unit coverage, package quantity and verified mass per square metre for the exact thickness. Ordered mass equals ordered coverage multiplied by the declared mass per square metre, plus packaging where the freight plan requires gross mass. Separate products because tiles and rolls of different thicknesses cannot share one assumed weight. Check the total against pallets, vehicle payload and site access.
Record roll length, diameter, unit mass, tile package mass, pallet dimensions and unloading method. Large rolls and dense tiles can be awkward even when the floor area is modest. Plan mechanical assistance, storage orientation, lift capacity, corridor width and a clean acclimation area with the site team. General handling guidance supports assessing the task; the destination's legal and safety requirements control the final method.
Freeze substrate and installation inputs before the order
Quantity is not complete until substrate preparation, moisture evaluation, adhesives or tape, primers, transition profiles and joint covers are defined. ASTM F710 describes evaluating and preparing concrete for resilient flooring and states that manufacturer instructions still govern the chosen system. Record the named test method, acceptance limit and responsible party rather than copying a value from a different product guide.
Coordinate expansion joints, floor drains, access panels and changes in elevation. Do not cover a movement joint because the area calculation ignored it. Confirm whether the installation is loose-laid, interlocking, taped or bonded for each zone, and calculate consumables from the selected manufacturer's spread rate and package size. Keep flooring material and installation consumables on separate quotation lines.
Issue an auditable request and receive by batch
Send the supplier the country, site plan, measured zone schedule, product and thickness per zone, colors, roll or tile layout, cut schedule, reserve policy, substrate summary, installation scope, access constraints and required delivery sequence. Request unit coverage, package count, net and gross mass, batch identification, packaging, documents and declared alternatives on separate lines.
At receipt, reconcile product code, dimensions, thickness, color, batch, quantity, labels and visible condition before installation. Protect the material and follow the exact storage and acclimation instructions supplied for it. After a dry layout or first installed area, confirm seams, edges, transitions, surface direction and remaining stock. Update the as-installed drawing and place the repair reserve into controlled storage.
- Dated field measurements and scaled drawing
- Zone-by-zone product and thickness schedule
- Tile grid or roll-lane cutting plan
- Separate installation and repair quantities
- Package, pallet and gross-mass schedule
- Substrate, joint and transition responsibilities
- Receiving and as-installed records
FAQ
Can I order gym flooring from room area alone?
No. Use room area as a check, then calculate from tile rows or roll lanes, boundary cuts, separate zones, supplier sales units and a documented repair reserve.
What percentage of extra gym flooring should I buy?
Do not start with a universal percentage. Count cuts and unusable offcuts from the layout, then add an approved installation allowance and named repair stock as separate quantities.
How do I calculate rolls for an irregular room?
Split the room into installable lanes, record each cut length, test both roll directions, assign usable offcuts to exact positions and round to the supplier's available lengths.
Should flooring under gym machines be subtracted?
Subtract it only when the approved plan leaves a permanent uncovered base. When the finish continues beneath the machine, keep that footprint in the flooring quantity.
What should I send for a flooring quotation?
Send measured plans, zone uses, product and thickness choices, colors, layouts, cuts, spare policy, substrate, installation method, access, destination and delivery sequence.
Sources
- ASTM F710-26 — Concrete floors for resilient flooring — ASTM International
- RFCI resilient flooring resources — Resilient Floor Covering Institute
- REGUPOL aktiv rubber flooring rolls — REGUPOL America
- REGUPOL aktiv reference installation guide — REGUPOL America
- REGUPOL aktivlok modular tiles — REGUPOL America
- CDC workplace material-handling guidance — CDC National Institute for Occupational Safety and Health